
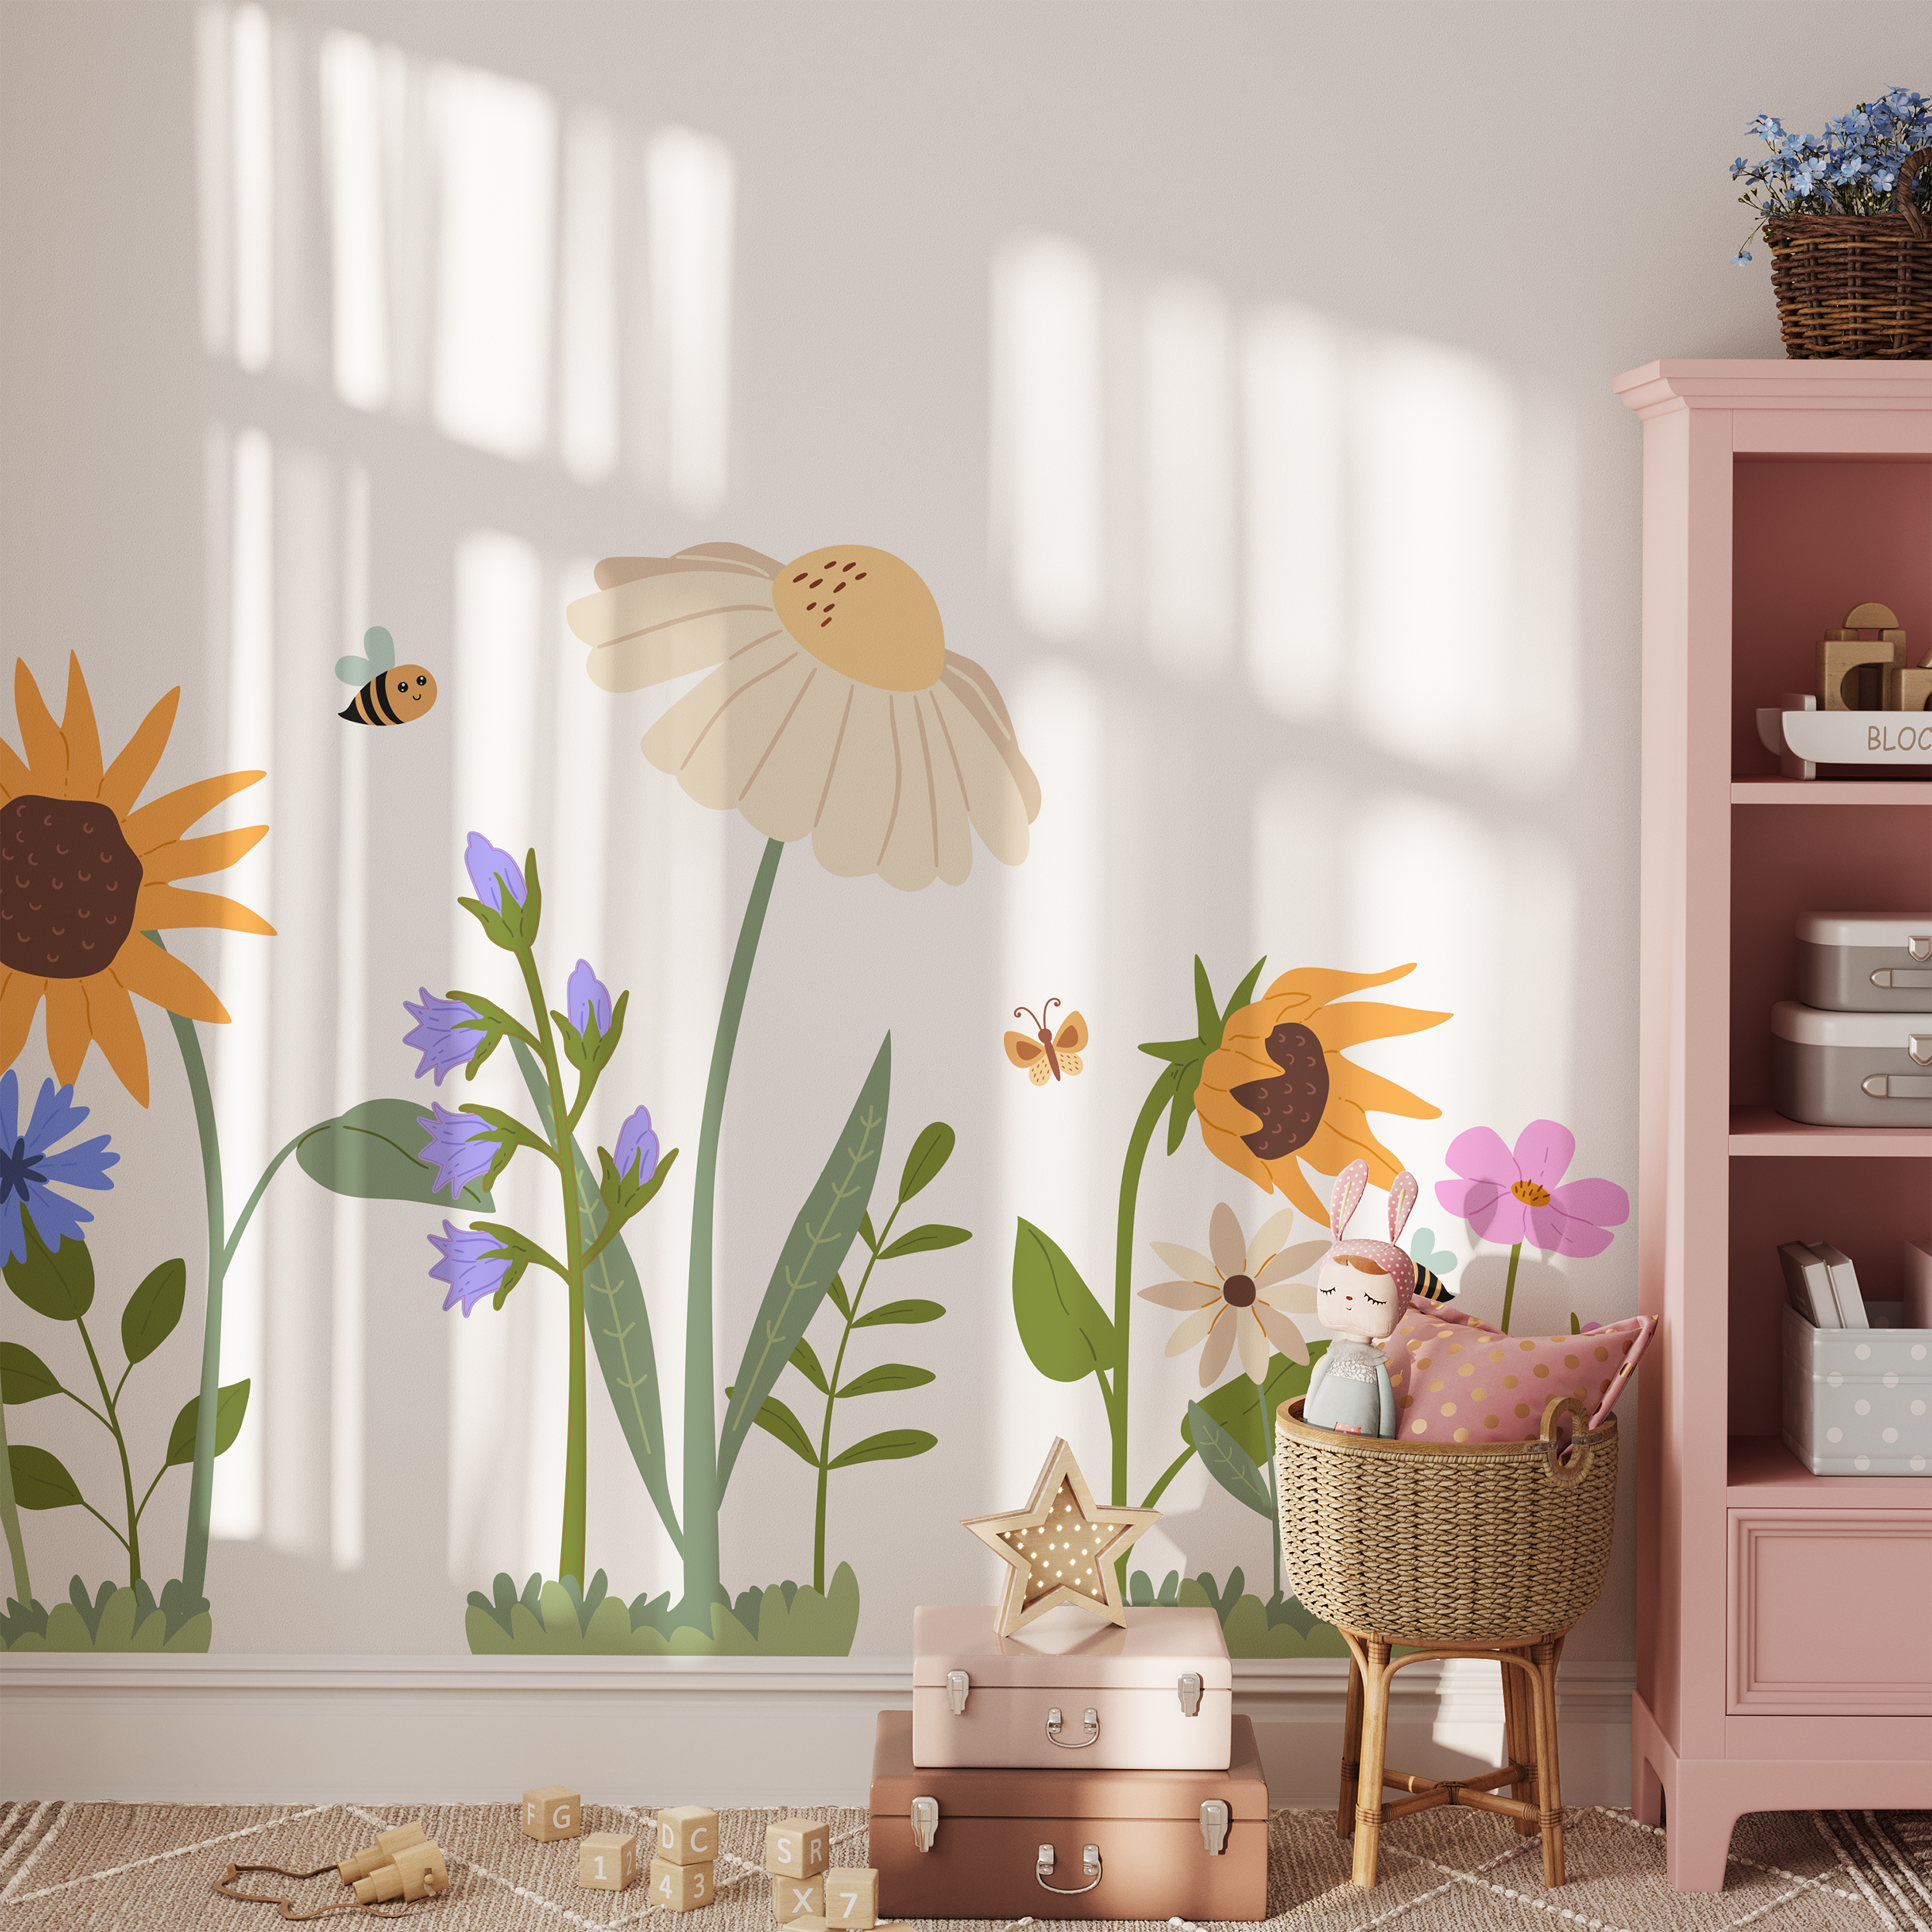
Your flower set is designed to be easy and enjoyable to install. Each flower comes in separate pieces with colour-coded numbers to help you.
Before You Start
- Make sure your wall is clean, dry, and smooth
- Gently wipe away dust or dirt
- Lay out all sticker pieces and check the numbers
Step 1: Understand the Pieces
- Each flower is split into sections (flower, stems, leaves, etc.)
- Piece's have a matching colour number.
- Follow the numbers in order (1 → 2 → 3…) to build each flower
Tip: Keep the reference image nearby to see how the final design should look.
Step 2: Plan Your Layout
- Where possible cut out the flower parts still on the backer sheet.
- Before peeling anything, position the pieces on the wall (use masking tape)
- Step back and adjust spacing until you're happy
- This helps create a natural, balanced look across your wall
Step 3: Peel with Care
- Slowly peel each piece from the backing
- These are paper stickers, so handle gently to avoid tearing
- If a piece feels stuck, peel from another corner rather than pulling hard
Step 4: Apply in Order
- Start with the stem of a flower
- Lightly place it on the wall
- Smooth from the center or one end outward to remove air bubbles
- Continue with the next numbered pieces.
Tip: Don’t press too firmly right away—this lets you adjust placement if needed.
Step 5: Add the Details
- Once main pieces are in place, add smaller elements like:
- Leaves
- Bees
- Butterflies
- These can be placed freely to add personality and movement
Step 6: Final Touch
- Once everything is in place, gently smooth all pieces
- Press edges lightly to ensure they are secure
Helpful Tips
- Take your time—this is meant to be relaxing and creative!
- If a piece folds, gently flatten it before applying
- Avoid repositioning too many times to keep edges crisp
Share:
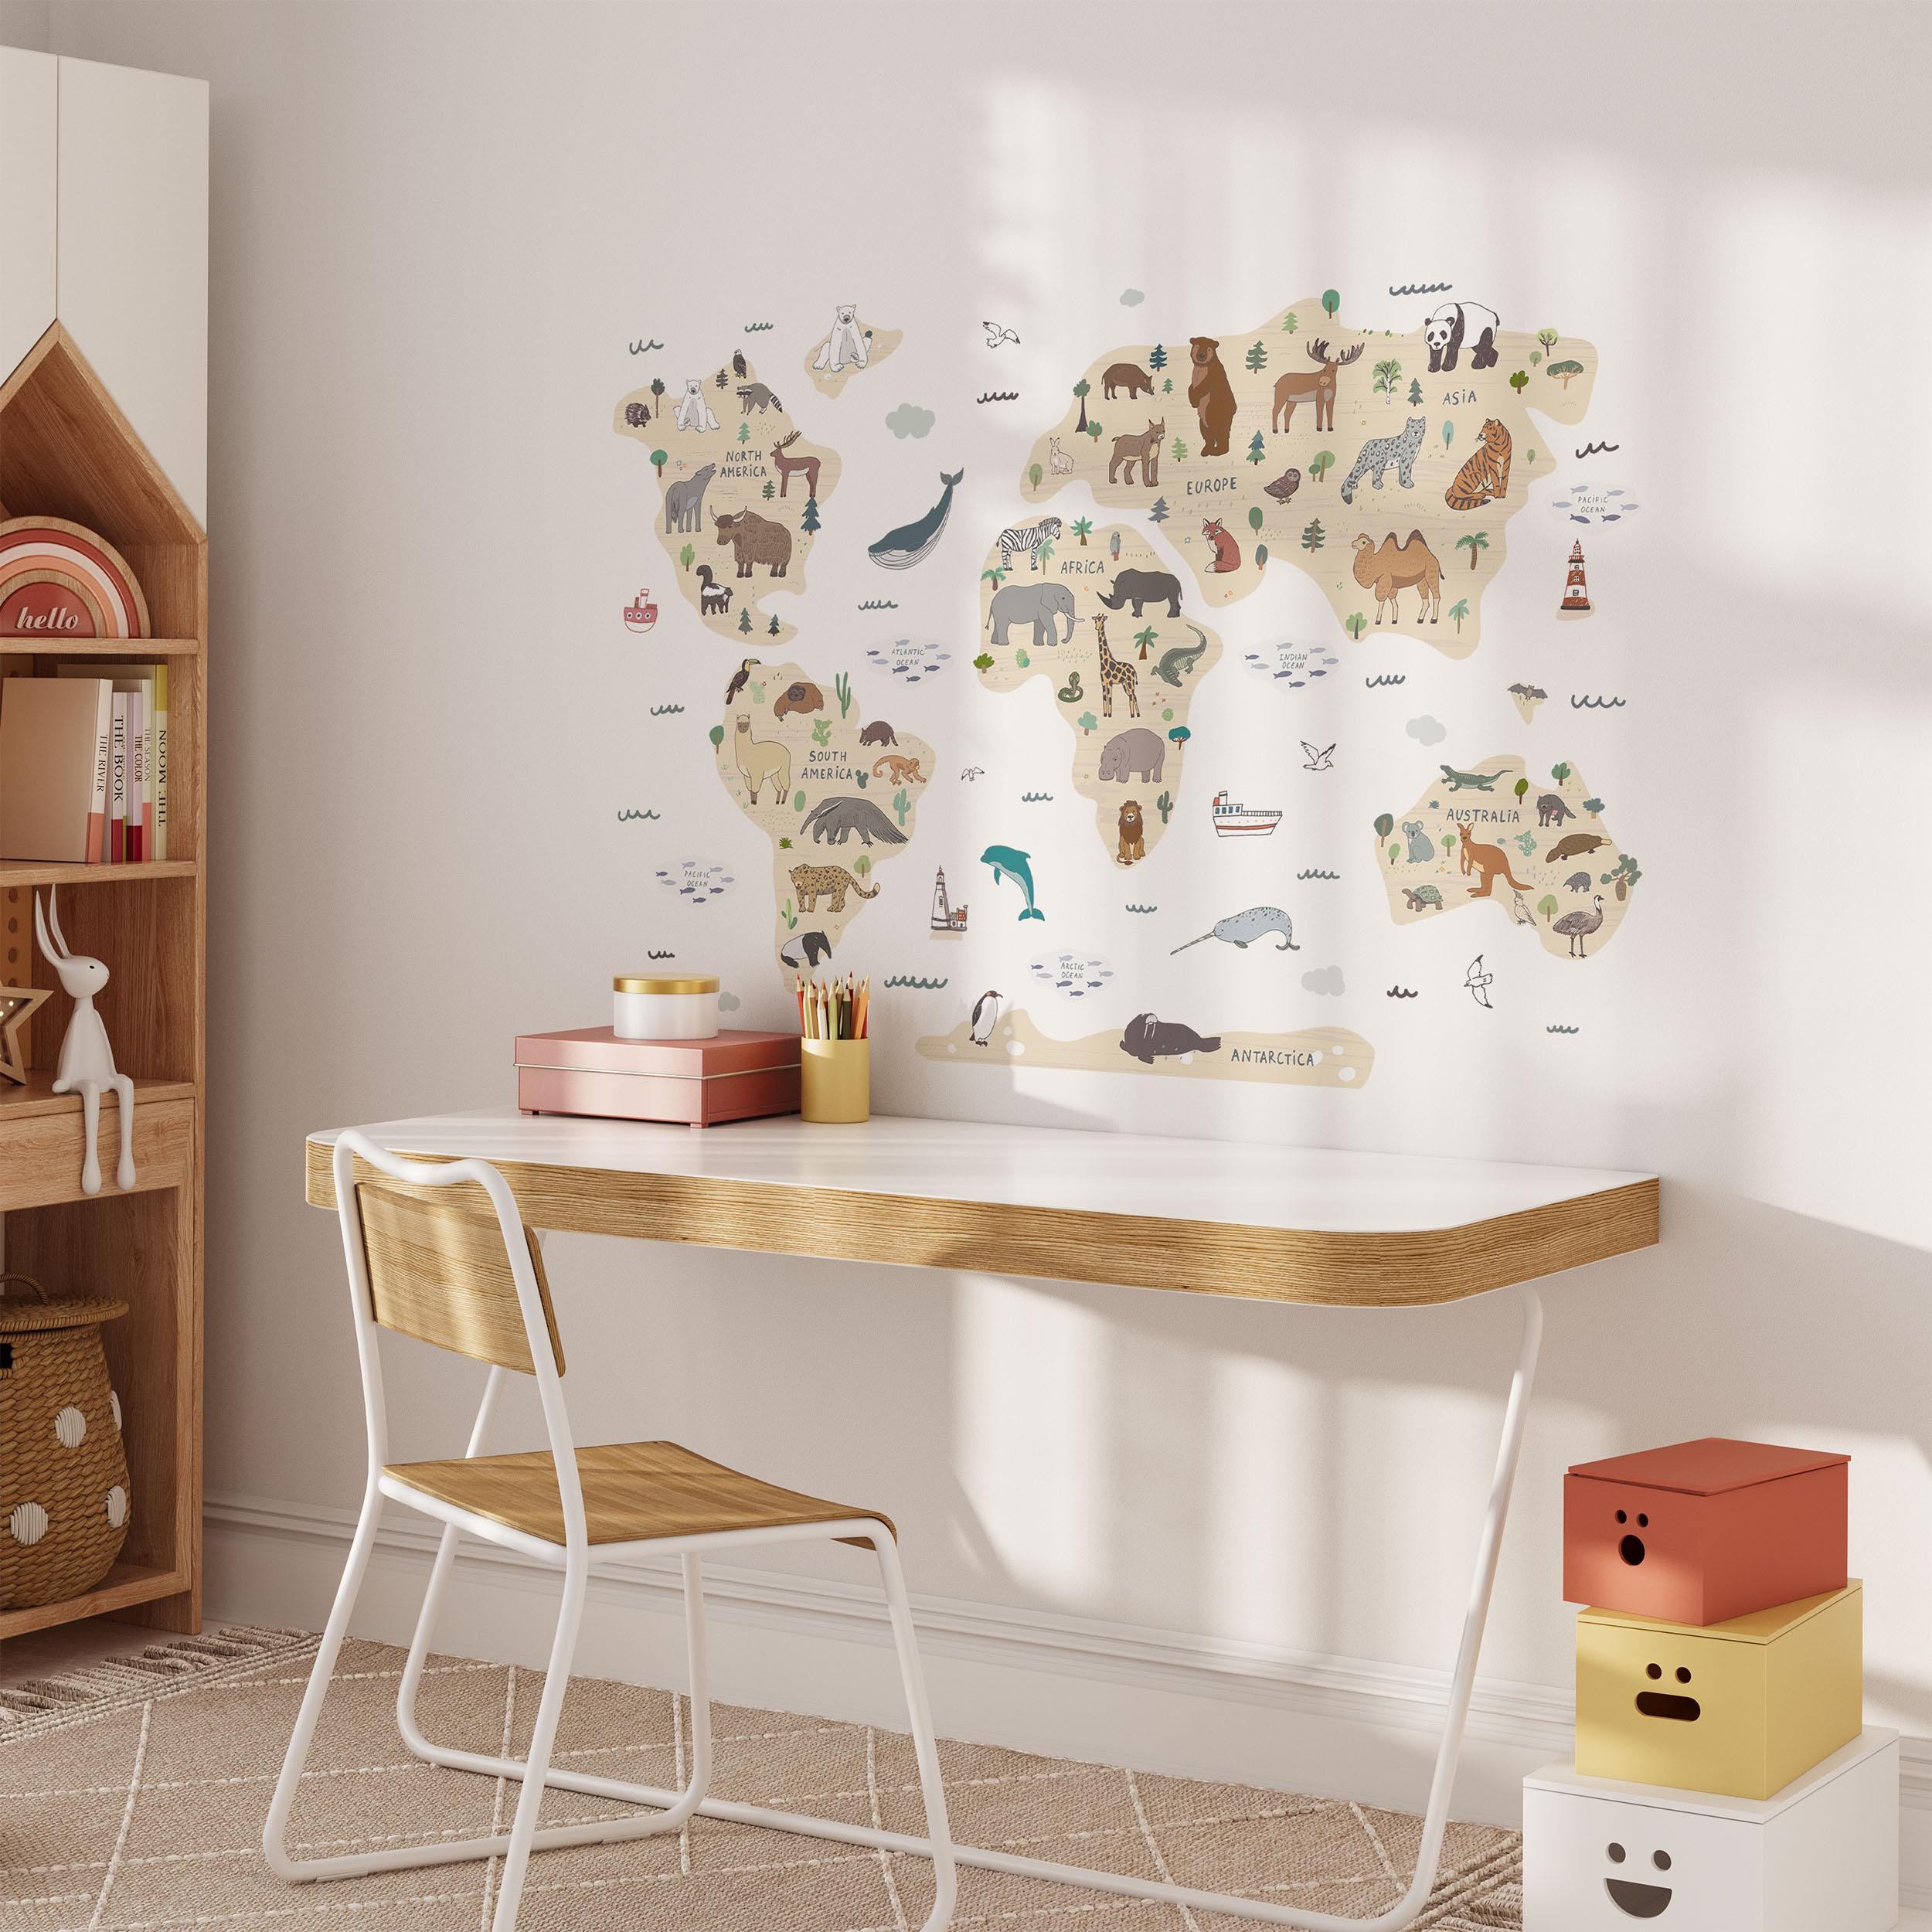
Can I use these decals on my wall?
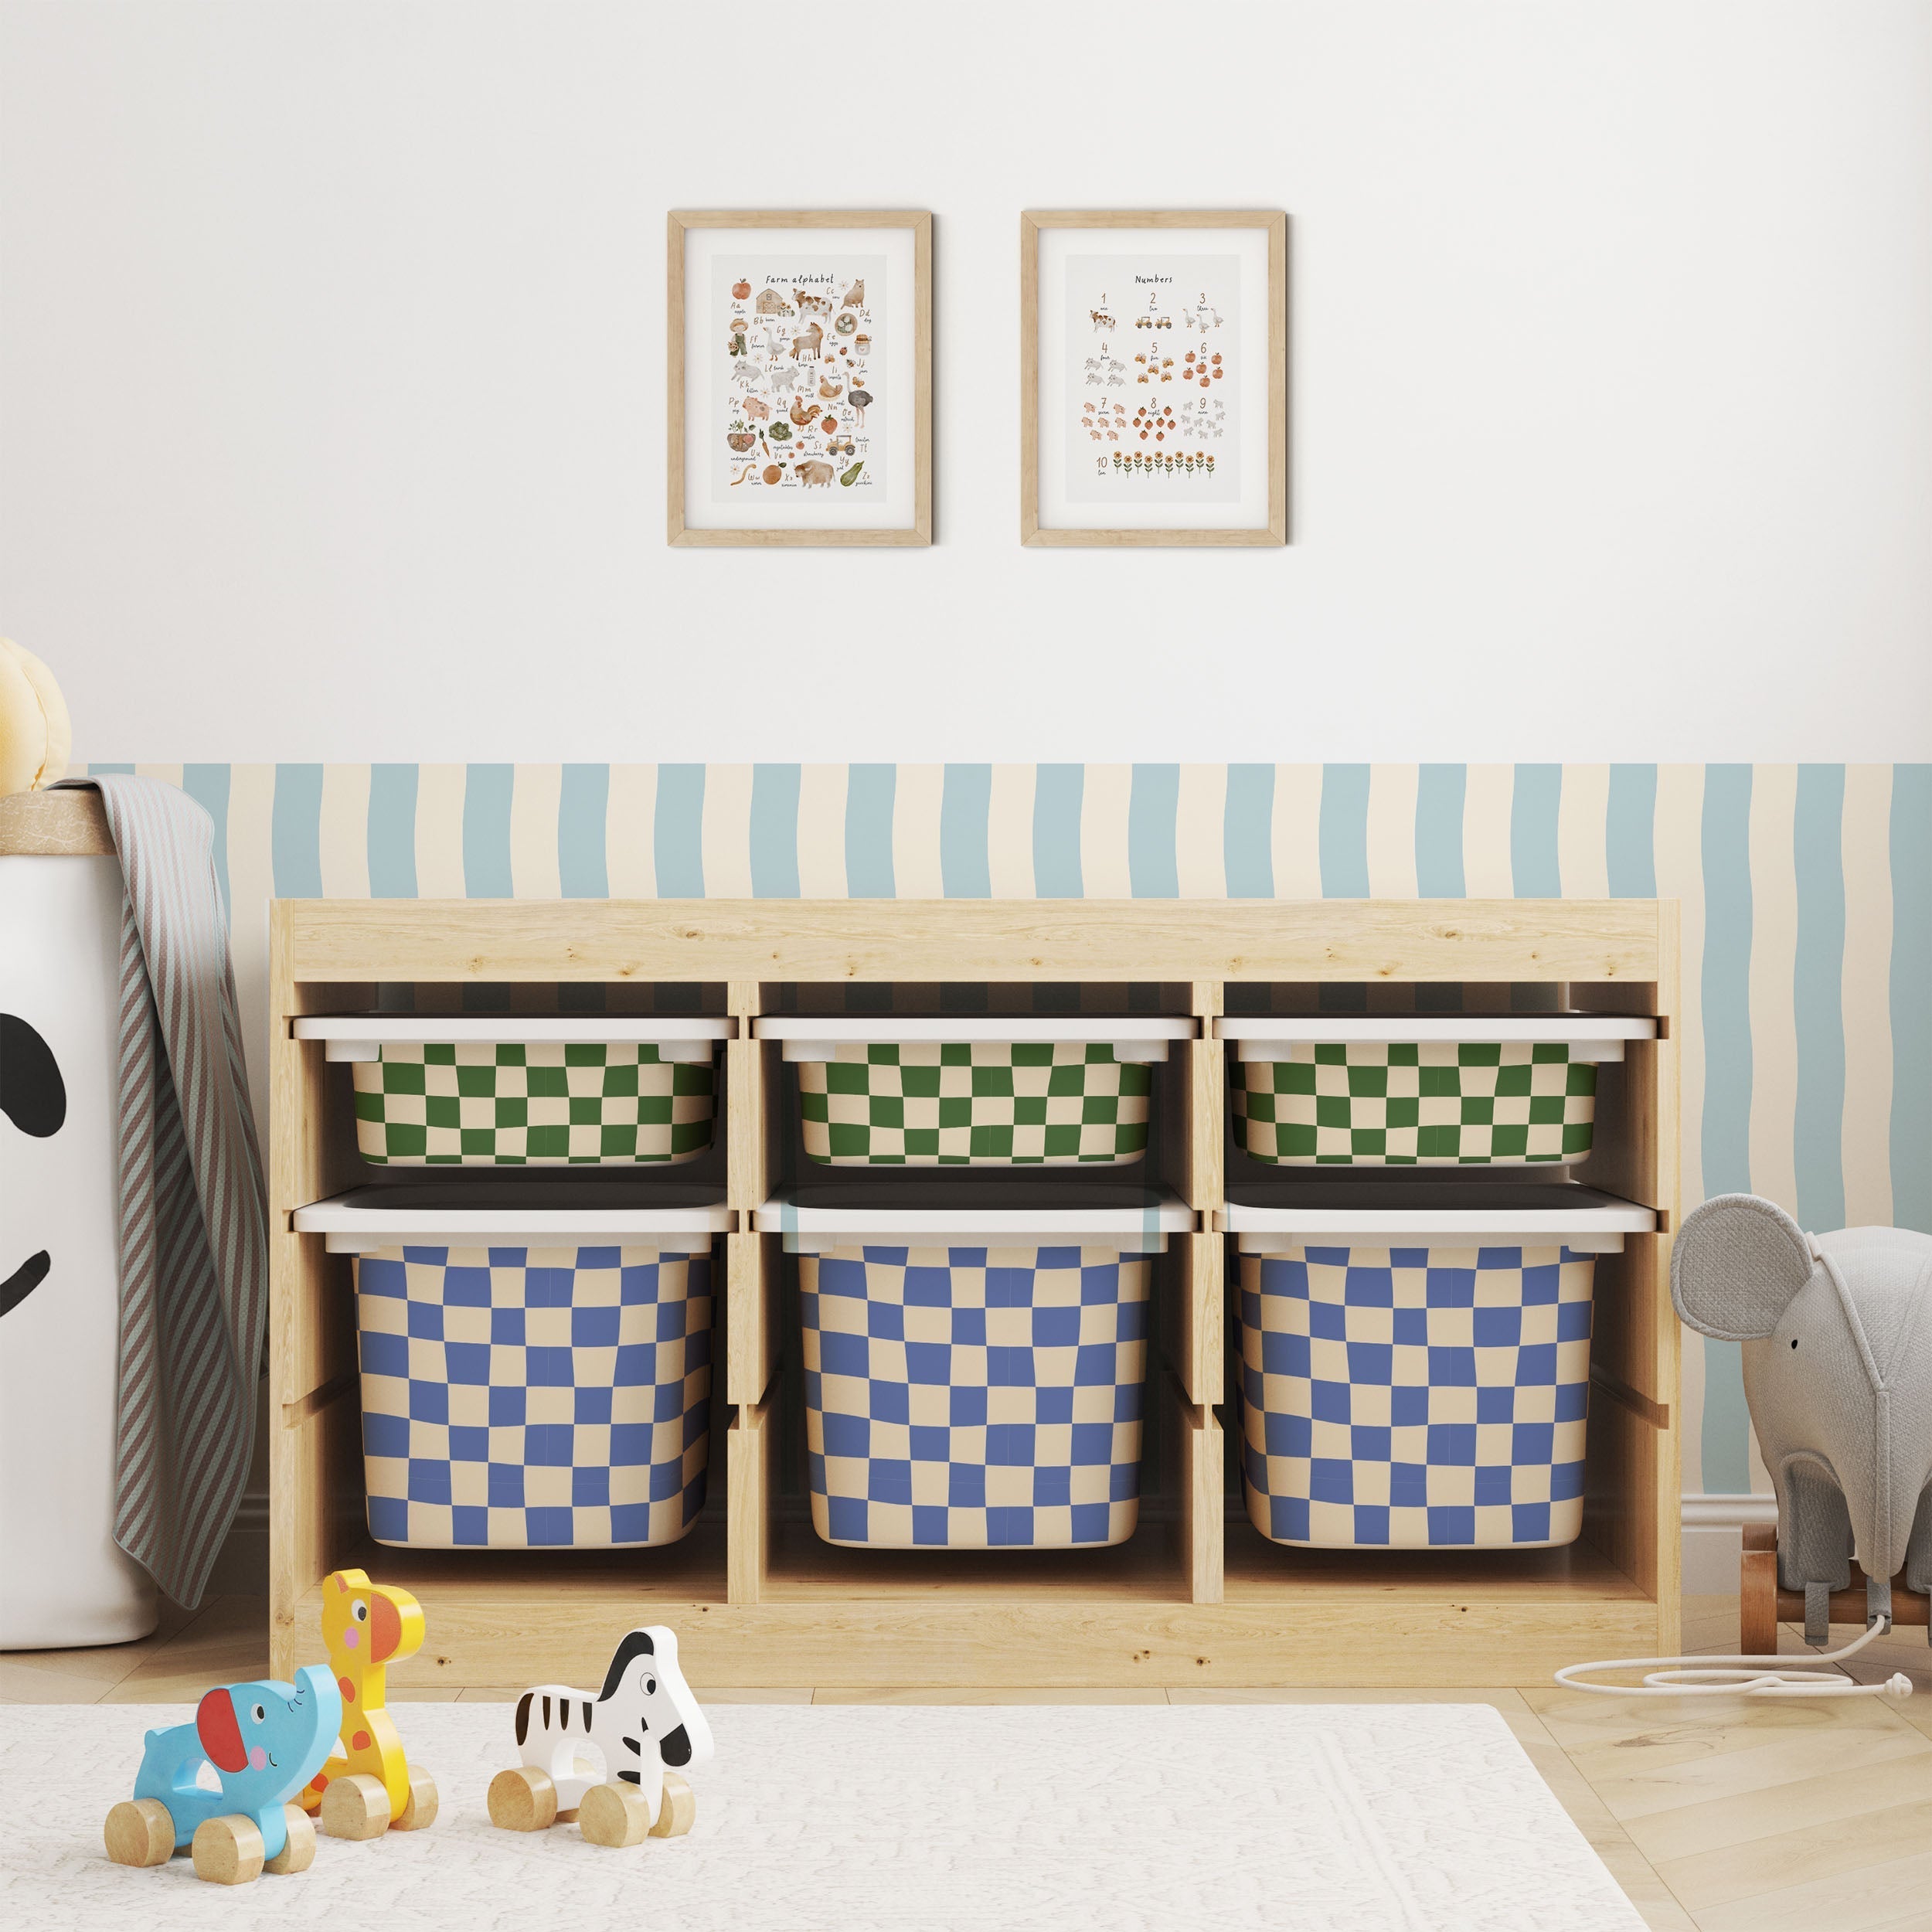
Applying Ikea Trofast Box Stickers